Tooling Reference
Slitting Line Tooling: A Component by Component Guide
Everything that rides on the arbors in the slitter head, what each part does, how it is sized, and how the parts work together to hold width and edge quality. Written for operators, setup crews, and buyers.
Last updated: July 2026
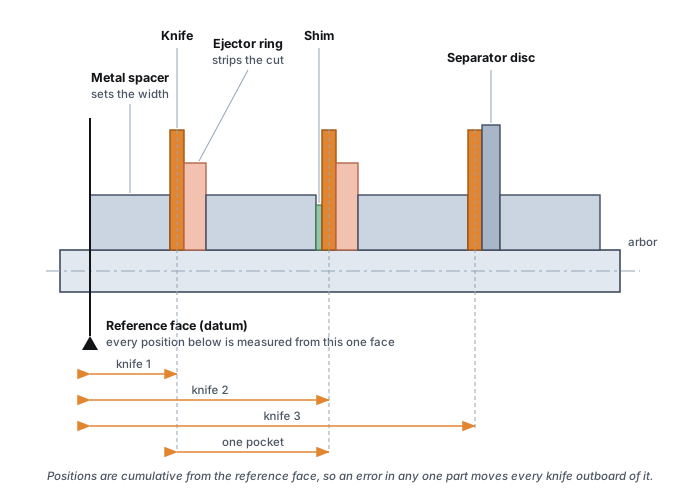
A slitting line does not cut with the machine. It cuts with the slitter tooling loaded on the two arbors in the slitter head, and every part in that build has one job. Understand the parts and you can read a setup sheet, order the right consumables, and diagnose a bad edge without guessing. This guide walks each component of the tooling set in the order you meet it during a build, from the shaft outward. For how these parts sit inside the wider line, see the slitting machine guide.
Slitter shafts and arbors
The slitter shaft, also called the arbor, is the rotating shaft that carries the knives and spacers. It is the foundation of the build: everything else is threaded onto it and clamped tight. The single most important property is stiffness, because during the cut the separating force tries to bow the shaft apart. A shaft that flexes lets width grow on the center strips and throws burrs on the widest cuts, and no amount of knife sharpness fixes that.
Shaft diameter sets that stiffness and also fixes the bore of every knife and spacer you own, so it quietly defines your whole tooling inventory. Light gauge lines often run shafts near 100 mm to 150 mm; heavy gauge lines run 200 mm and up. Two more numbers matter: runout, the total wobble measured with a dial indicator, which good lines hold to a few hundredths of a millimeter, and the drive, either a keyed shaft that transmits torque through a key and keyway or a keyless hydraulic shaft that grips the tooling all the way around for tighter position on high cut count work.
Treat shafts as consumable tooling. Keyways wear, journals score, and a shaft that has lost concentricity will never cut clean. Track runout on your maintenance schedule and replace shafts before they start making scrap. Reground or replacement shafts should be sourced from a maker that can hold the original tolerance, such as Maxwell Slitter Industries.
Slitting knives
The rotary slitting knives are the circular blades that shear the strip. Upper and lower knives pass each other with a set side gap (clearance) and overlap (penetration), starting a controlled fracture that tears the metal cleanly. Knife material is matched to the work: tool steels such as D2 for general steel, M2 for hotter or harder runs, and carbide for long runs on abrasive or high strength material where the cost of regrinds outweighs the higher blade price.
Knives are the fastest wearing precision part on the line, and their diameter shrinks slightly at every regrind, which changes clearance and overlap. Two existing guides go deep here, so this page keeps it short: read how to choose rotary slitter blades for spec and material selection, and rotary slitter blade life for tons per edge, regrind economics, and how to extend blade life.
When it is time to buy or regrind, source knives from a maker that grinds them to the same bore and tolerance as your shafts and spacers, so the set stays consistent. Maxwell Slitter Industries manufactures rotary slitting knives alongside the shafts and spacers they run on.
Metal spacers
Metal spacers are precision ground steel rings that set the exact width of each pocket and carry the cutting force directly. Because they do not compress, they are the part you trust for the critical dimension, and the largest metal spacer in a pocket is loaded nearest the knife to brace it against the separating force. A pocket is built to the strip width, which equals the strip width minus one shared knife thickness across the boundary, and the metal spacers make up most of that stack.
Metal spacers are ground to tight tolerance and come in a graduated set of widths so any pocket can be assembled from the fewest parts. Fewer spacers per pocket means less cumulative tolerance error, so a well kept, well graduated set of metal spacers is one of the highest leverage tooling investments a service center can make.
Rubber bonded spacers
Rubber bonded spacers have a rubber outer layer bonded to a steel core. Their job is not to set the critical dimension, because rubber compresses under load. Their job is to grip the strip, damp vibration, and hold thin strips flat as they leave the knives, which is why they are common on light gauge, high cut count work where flatness and strip control matter as much as raw width.
Because they compress, rubber bonded spacers are used alongside metal spacers, not instead of them: the metal sets the width, the rubber controls the strip. Inspect them for compression set and cracking on your weekly checks, because a tired rubber spacer quietly changes grip and lets strips wander.
Ejector rings (stripper rings)
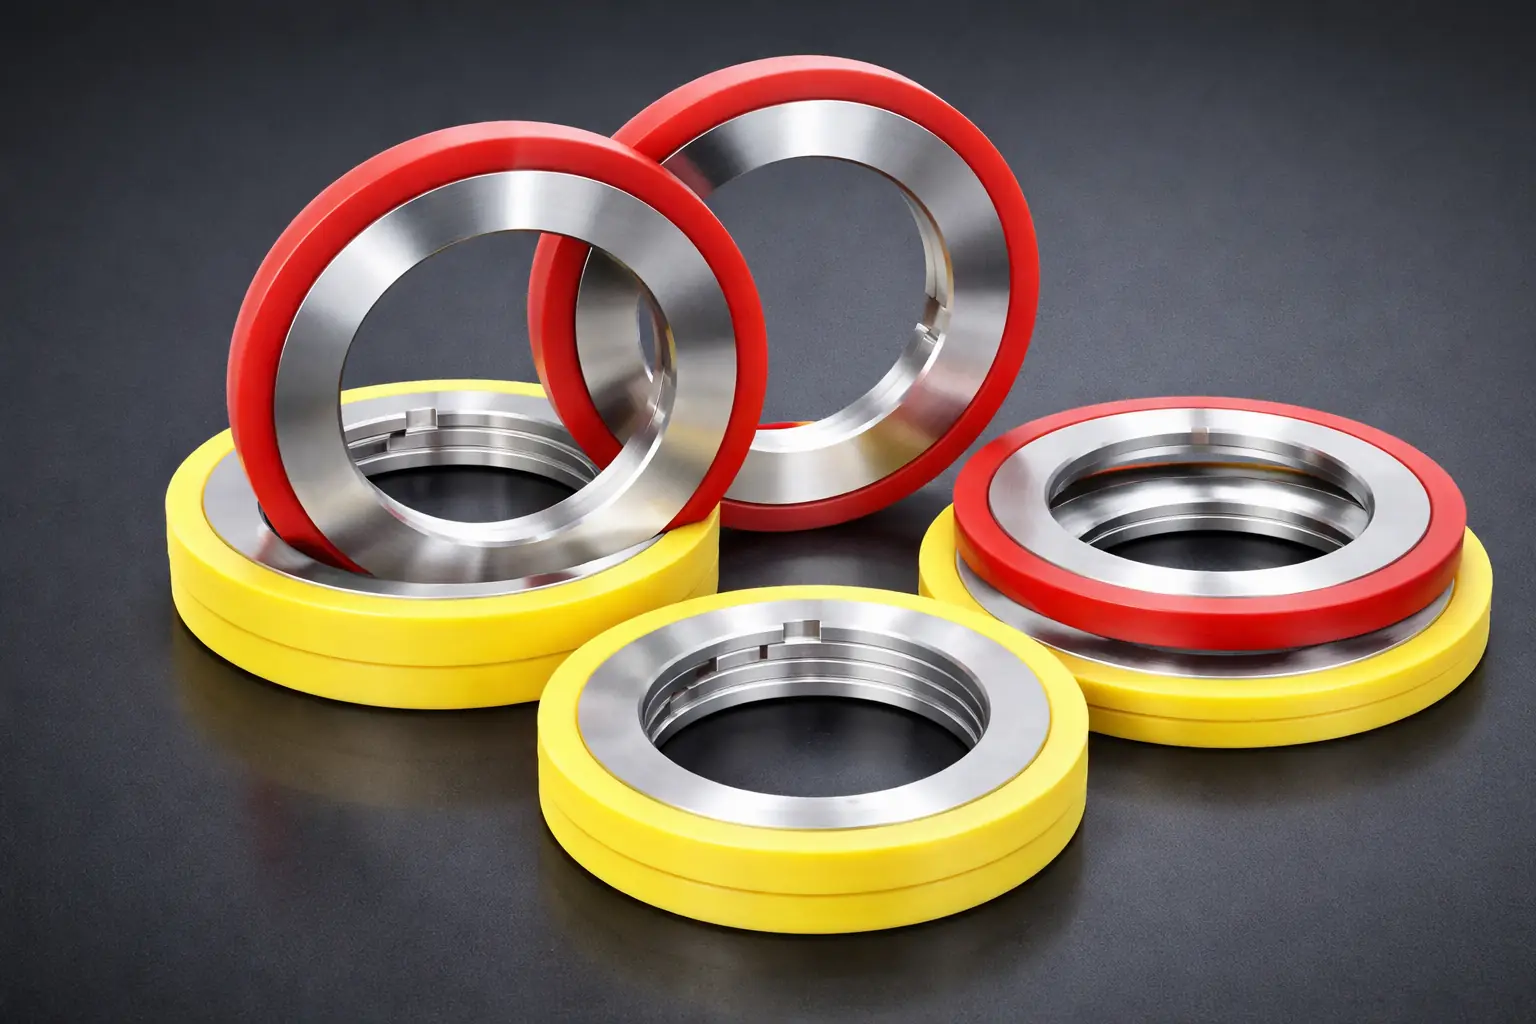
Ejector rings, also called stripper rings, sit next to each knife and push the freshly cut strip off the blade so it does not wrap the arbor or climb over a neighbor. They are a small part with an outsized effect: when ejector rings are worn or wrongly sized, strips wrap the shaft, jam the head, and mark the strip surface. Anyone searching for slitting knives ejector rings is usually chasing exactly that failure.
Rubber versus steel-backed ejector rings
Plain rubber ejector rings grip and strip well on light gauge and lower speed, where force and heat are modest. Steel-backed rubber ejector rings carry a steel core or backing that holds the rubber against higher separating force and higher heat, so they are the choice for heavier gauge and faster lines. Using a plain rubber ring where a steel-backed ring belongs shows up as premature ring failure and strips that will not strip clean.
Sizing ejector rings
Ejector rings are sized to the knife outside diameter and to the pocket, so they clear the cut and press at the right point. As knives shrink through regrinds, the ring to knife relationship changes, which is one more reason to recheck ejector ring condition and fit after every regrind. Keep spares in the sizes that match your active knife diameters so a worn ring never stops a run.
Separator discs
On the recoiler side, separator discs keep the finished strips apart as they rewind so they do not climb over each other and mar their edges. On an overarm separator the discs drop between the strips; on a looping line they guide the strips into their lanes. Disc flatness and the right disc thickness for the strip gap decide whether the rewound coils come off clean or with edge damage and loose wraps. Check separator disc flatness on your weekly maintenance and replace bent discs promptly.
Shims and fraction kits
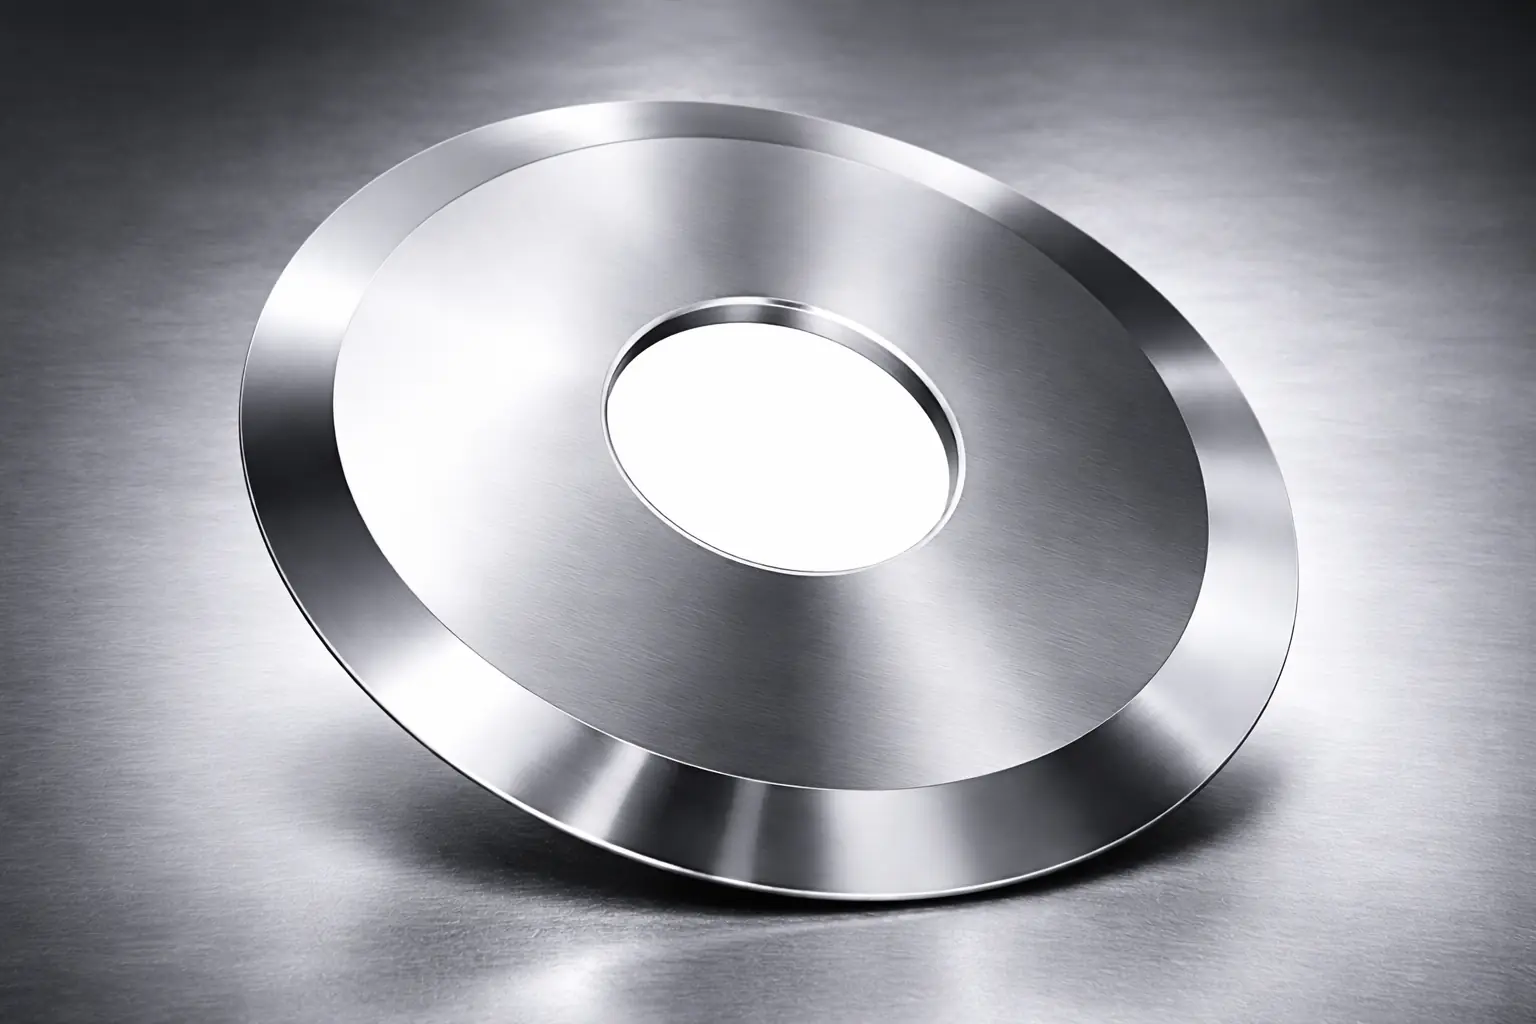
The last few hundredths of a pocket width are made up with thin spacers. Traditionally that meant plastic shims, loose thin rings stacked to pad a pocket out to the target width. Shims work, but they are slow to handle, easy to lose, and every extra loose part adds tolerance error and a place for debris to hide.
Fraction kits replace loose shims with a graduated set of thin precision spacers in small increments, so the spacer stack itself lands on the exact target width. That is the basis of shimless setup: fewer parts, tighter and more repeatable tolerance, and faster changeover. For the full method and the numbers behind it, read shimless slitting setup with fraction kits.
Working out the spacer stack for each pocket? The free calculator builds the pocket widths and knife clearance from your own numbers in seconds.
Open the free calculatorMatching slitter tooling to your shaft: bore and keyway
Every part that threads onto the arbor shares one number: the bore, the inside diameter that slides over the shaft. Knives, metal spacers, rubber bonded spacers, ejector rings, and fraction kit spacers must all be bored to the same shaft diameter, and on keyed shafts they must carry the matching keyway. This sounds obvious until a line is upgraded to a larger shaft and a drawer full of perfectly good tooling no longer fits, or a mixed set of bores turns up in inventory and quietly causes runout.
When you buy tooling, specify the shaft diameter, the bore tolerance, and the keyway dimensions with the order, and keep tooling for different shaft sizes physically separated so nothing gets loaded on the wrong arbor. If you run more than one line, a clear labeling scheme for bore size saves more setup time than almost any single upgrade. A supplier that manufactures shafts and matching tooling together, such as Maxwell Slitter Industries, can hold the bore and keyway to the same standard across every part so the set stays consistent as you replace consumables.
How the parts work together in a build
A good arbor build is an argument settled in favor of rigidity and the fewest parts. Metal spacers set width and sit nearest the knives; rubber bonded spacers control the strip; ejector rings strip the cut; fraction kit spacers make up the last fraction without loose shims; and the whole stack is held on a shaft stiff enough not to bow. Get the parts and their order right and the same numbers repeat build after build. Get sloppy with worn ejector rings, a tired shaft, or a drawer of random shims, and quality becomes a daily lottery.
This is also why tooling records and a trusted spacer inventory matter as much as the parts themselves. Software that computes the pocket stack from your real inventory removes the guesswork and the dependence on one veteran who knows the drawer. That is what OptiStack Pro does.
Frequently Asked Questions
What tooling goes on a slitting line?
What are slitter shafts and arbors?
What do ejector rings do on a slitter?
What is the difference between metal spacers and rubber bonded spacers?
What are fraction kits and shims used for?
What is slitter tooling?
How long does slitter tooling last?
Where do I buy slitting line tooling?
Related guides
Also available in
- Español: Cuchillas circulares para slitter
- Italiano: Coltelli circolari per slitter
- Deutsch: Kreismesser für Längsteilanlagen
- Русский: Дисковые ножи для продольной резки
- Português: Facas circulares para slitter
- Türkçe: Dilme bıçakları
Technical guides by language
Spacers, rubber bonded rings and separator discs, written for each market rather than translated.
- Deutsch: Distanzringe und Gummiringe
- Русский: Оснастка: кольца и диски
- Italiano: Distanziali e anelli gommati
- Español: Separadores y anillos de goma
Build every pocket from the tooling you actually have
OptiStack Pro reads your real spacer and knife inventory and computes a buildable stack for each pocket, so setup does not depend on one person and the drawer. Start a free 14 day trial, no credit card.
Start free trial